
PVC Temperature Control Extrusion Guide: Zone-by-Zone Settings
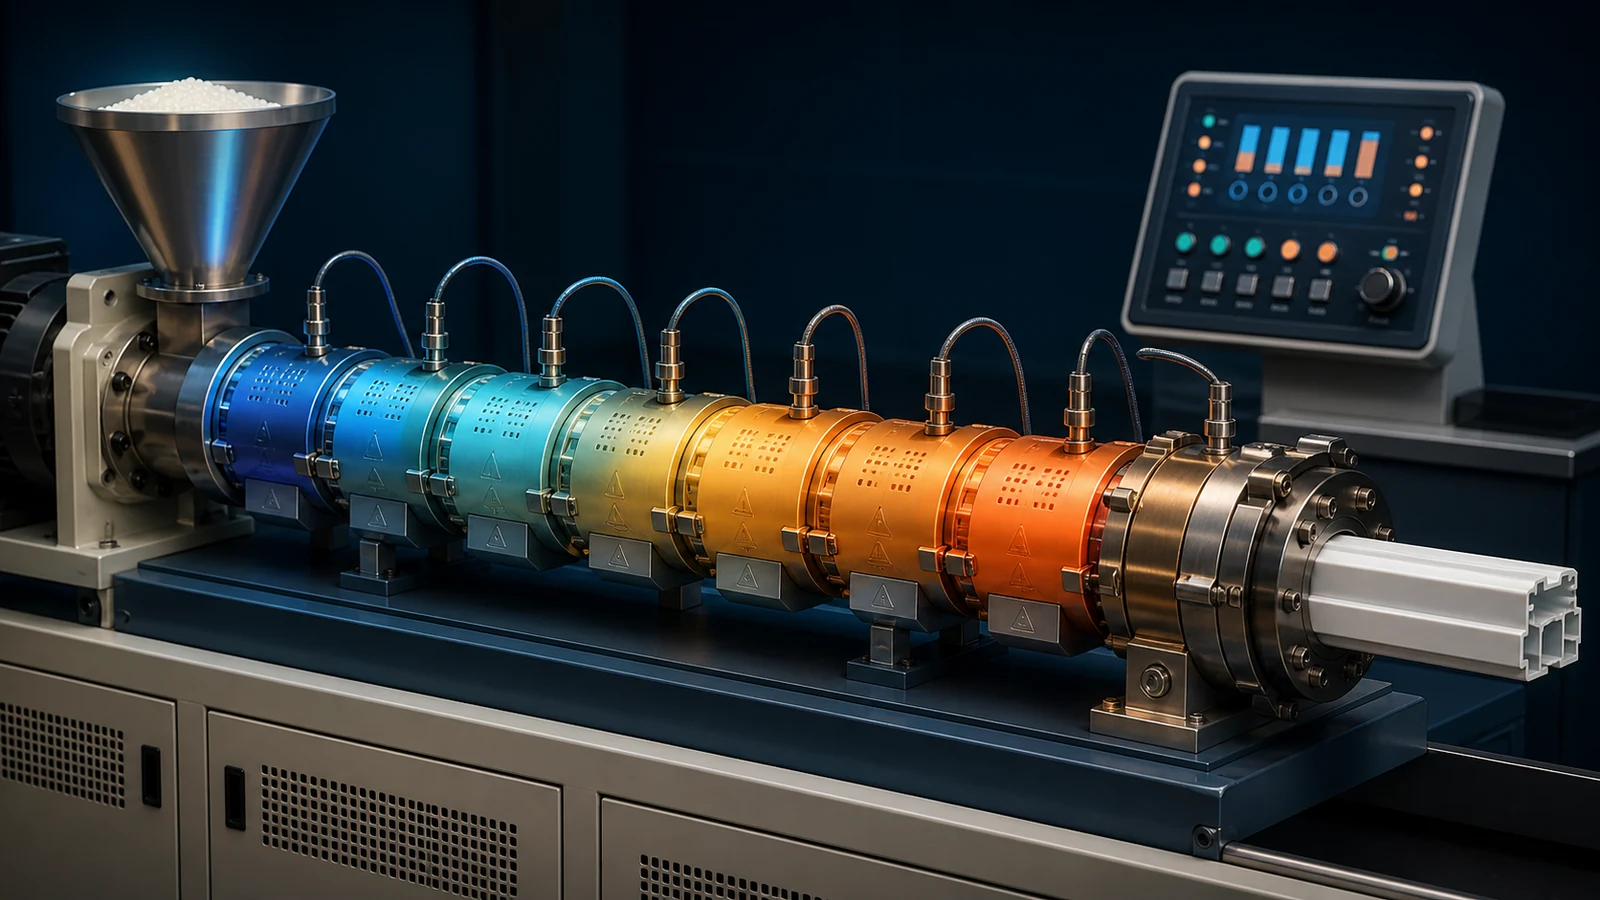
Temperature control is the heartbeat of PVC extrusion. Unlike polyolefins, rigid PVC (uPVC) is a heat-sensitive, amorphous polymer that begins degrading at just 180°C, yet requires 170–200°C to melt and flow properly. A temperature deviation of as little as 5°C can mean the difference between a perfect PVC wall panel and a batch of burned scrap.
This guide breaks down every temperature zone in a PVC extrusion line—from feed throat to die lips—and explains why each setting matters, how to adjust them, and how to troubleshoot common temperature-related defects.
1. Why Temperature Control Is Different for PVC
PVC's unique thermal behavior shapes every temperature decision on the extrusion line:
- No true melting point: PVC doesn't melt like PE or PP. It goes through a gelation (fusion) process where primary particles break down into a homogeneous melt around 170–195°C. Below this range, the material remains in a particulate state with poor mechanical properties. Above it, degradation accelerates exponentially.
- Narrow processing window: The gap between adequate gelation (170°C) and thermal degradation (195°C) is only ~25°C. This demands tight temperature control across all zones.
- Shear heating is significant: PVC generates substantial frictional heat during processing. Screw speed and design contribute as much to melt temperature as barrel heater settings.
- No crystalline structure: PVC doesn't crystallize, so there's no latent heat of fusion to buffer temperature fluctuations—the melt responds quickly to heat input changes.
The golden rule of PVC extrusion: the barrel heaters do not control melt temperature—they create the right conditions for the screw to do its work. Over-reliance on barrel heat leads to degradation.
2. Zone-by-Zone Temperature Settings
A typical conical twin-screw extruder for rigid PVC has 4–5 barrel zones plus the adapter and die. Here is the recommended temperature profile for standard uPVC compound (SG-5 resin, K-67):
| Zone | Function | Temperature Range | Typical Setpoint |
|---|---|---|---|
| Zone 1 (Feed) | Preheating & conveying dry blend | 155–170°C | 160°C |
| Zone 2 (Compression) | Compacting & initial gelation | 160–175°C | 168°C |
| Zone 3 (Plastication) | Full gelation development | 165–180°C | 172°C |
| Zone 4 (Metering) | Homogenization & pressure build | 165–180°C | 170°C |
| Adapter | Transition to die | 165–178°C | 168°C |
| Die Body | Flow distribution | 170–185°C | 178°C |
| Die Lips | Final shaping | 175–190°C | 180°C |
Zone 1: Feed Zone (155–170°C)
The feed zone has the lowest temperature setting because too much heat here causes premature fusion and bridging, blocking material flow into the screw. The goal is gentle preheating—bringing the dry blend to about 100–120°C before it enters the compression zone.
Warning: If Zone 1 is too hot, the dry blend will stick to the screw root and feed poorly, causing surging (output fluctuation). If too cold, the screw must do excessive mechanical work, which can overload the motor.
Zone 2–3: Compression & Plastication Zones (160–180°C)
These are the zones where gelation happens. The temperature profile should rise gradually (never make a jump >10°C between zones). The compression zone (Zone 2) initiates gelation; the plastication zone (Zone 3) completes it. A gradual ramp from 160°C to 175°C gives the PVC time to fuse evenly without localized overheating.
Zone 4: Metering Zone (165–180°C)
The metering zone smooths out the melt and builds pressure for the die. Slightly lower than Zone 3—or equal—to prevent degradation from excessive residence time.
Adapter & Die Zones (165–190°C)
The adapter and die zones are set higher than the barrel to reduce melt viscosity at the shaping stage, improving surface gloss and dimensional accuracy. The die lips typically run 5–10°C hotter than the die body to prevent die-lip build-up (plate-out) and improve surface finish.
3. Temperature Profile Strategies
Reverse Profile (Recommended for Most uPVC)
In a reverse temperature profile, Zone 1 is the hottest and the profile decreases toward the die. This is common with counter-rotating twin-screw extruders because shear heating raises the melt temperature beyond the setpoints as it travels through the screw:
- Zone 1: 175–180°C
- Zone 2: 170–175°C
- Zone 3: 165–170°C
- Zone 4: 160–168°C
- Adapter: 165–172°C
- Die: 175–185°C
Why it works: A hotter feed zone initiates gelation earlier. As the material progresses, shear provides additional heat, so barrel heat input is steadily reduced to avoid overheating.
Flat / Rising Profile
A flat or rising profile (cool feed, hotter toward die) is sometimes used for high-speed extrusion of thin-walled profiles where screw shear is limited. It provides more controlled gelation at the cost of slightly lower output.
Start with a reverse profile as your baseline. If you experience gelation issues (unmelted particles in the product), gradually flatten the profile by raising the plastication zone temperatures.
4. Screw Temperature Control
Twin-screw extruders typically have internal screw core temperature control. This is a critical but often overlooked parameter:
- Oil circulation: Heated oil (80–120°C) circulates through the screw cores to preheat the screws at startup and remove excess frictional heat during steady-state production.
- Too cold: Material sticks to the screw, poor conveying, surging.
- Too hot: Material degrades on the screw surface, producing black specks in the extrudate.
Recommended screw oil temperature: 90–110°C for rigid PVC profiles; 80–95°C for foamed PVC.
5. Temperature-Related Defects & Solutions
| Defect | Likely Temperature Cause | Solution |
|---|---|---|
| Yellow/brown discoloration | Melt temperature too high; degradation starting | Reduce die & metering zone temps by 3–5°C; check screw oil temperature; increase stabilizer level |
| Black specks in product | Severe local overheating; degraded material stuck in dead spots | Clean die and screw; reduce all zones by 5–8°C; check for dead spots in adapter |
| Rough / matte surface (sharkskin) | Die too cold; melt too viscous at die exit | Increase die lip temperature by 5–10°C; check if overall melt temperature is high enough for gelation |
| Unmelted particles / poor gelation | Barrel temperature too low; insufficient gelation | Raise Zone 2–3 temps by 5–8°C; reduce screw speed temporarily |
| Surging / pulsating output | Zone 1 too hot causing bridging; uneven feed | Lower Zone 1 by 5–8°C; check hopper cooling |
| Bubbles / porosity inside profile | Die temperature too high; volatiles (moisture in filler) expanding | Lower die temp; pre-dry CaCO3 filler; reduce screw speed |
| Die lip build-up (plate-out) | Die lips too cool; lubricant/external additives condensing | Raise die lip temp by 5–10°C; adjust external lubricant level |
| Profile warps after cooling | Uneven die temperature distribution; differential shrinkage | Balance die zone heaters; check for blocked die heater bands |
6. Startup & Shutdown Temperature Procedures
Startup Sequence
- Preheat the die separately: The die has more thermal mass. Start it 20–30 minutes before the barrel.
- Set initial barrel temperatures 10–15°C above production settings for the first 10–15 minutes to accelerate heat-soak, then drop to production settings.
- Wait for all zones to stabilize within ±2°C of setpoint before feeding material. Rushing leads to cold-start defects.
- Start screw at low RPM (5–8 rpm) and gradually increase to production speed over 15–20 minutes.
- Purge with clean PVC or purging compound if the machine has been idle for more than 4 hours to clear any degraded residue.
Shutdown Sequence
- Stop material feed first; run the screw until no more material exits the die.
- Reduce all temperature setpoints by 30–40°C (to ~130–140°C) while the screw is still turning slowly to prevent thermal degradation of residual material.
- Stop the screw, turn off heaters.
- For extended shutdowns (>24 hours): Purge with PE or purging compound to displace PVC from the system before cooling completely.
7. Practical Tips from Our Extrusion Floor
- Thermocouple placement matters: A thermocouple reading 170°C may mean the melt is 178°C if the thermocouple tip doesn't protrude far enough into the melt stream. Verify with a hand-held probe pyrometer at the die exit at least once per shift.
- Heater band health: A dead heater band on one side of the die causes asymmetric flow. Check heater current draw with a clamp meter monthly.
- Ambient temperature effects: In hot climates (workshop >35°C), you may need to reduce barrel setpoints by 3–5°C and increase screw oil cooling. In cold climates (<10°C), preheat the dry blend or extend Zone 1.
- Formulation interacts with temperature: Higher filler loading (CaCO3 >30 phr) conducts heat faster and may require lower barrel temperatures. Higher processing aid levels improve gelation at lower temperatures.
Need Help Optimizing Your PVC Extrusion Temperature Profile?
Our process engineers can analyze your current setup and recommend adjustments specific to your product and formulation.
Talk to Our EngineersRelated Articles & Products
- PVC Formulation Guide for Profile Extrusion — how formulation affects processing temperature
- Conical vs Parallel Twin Screw Extruder — screw type impact on thermal behavior
- PVC Extrusion Troubleshooting: Common Defects
- Products: PVC Wall Panel Machine | PVC Window Profile Machine | PVC Ceiling Panel Machine
Conclusion
Mastering temperature control in PVC extrusion is about understanding the interplay between barrel heaters, screw shear, and the narrow thermal window of PVC. Start with a reverse temperature profile, verify actual melt temperature at the die exit, and make small adjustments (3–5°C at a time) while observing product quality. The best operators treat temperature control as a diagnostic tool—reading temperature-related defects to adjust not just the heaters, but the entire processing equation.